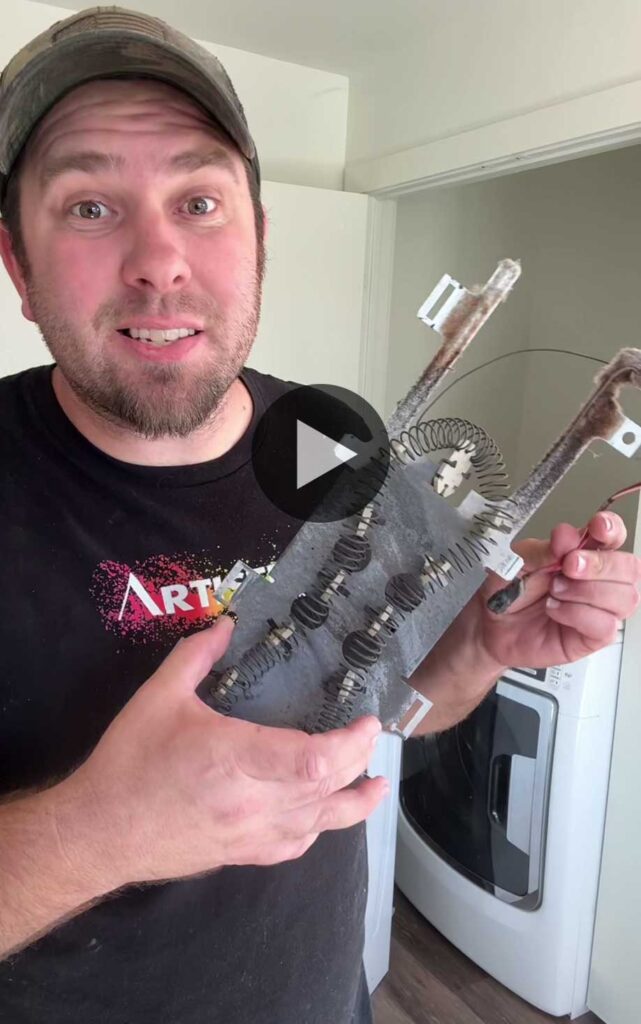
Why Buy a New Dryer? Replace the Part for CHEAP and Save Big!
Are you tired of dealing with a dryer that just won’t heat up? Before you rush out to buy a brand new one, take a deep breath—there might be a simple and cost-effective solution! In today’s post, I’ll show you how I fixed my dryer for less than $30 by replacing a faulty heating element. It’s easier than you think, and you don’t need to be a professional repair technician to do it.
Why Replace the Part Instead of the Whole Dryer?
When your dryer stops working, the first instinct might be to start shopping for a replacement. But why spend hundreds of dollars when the issue could be as simple as a single faulty part? Most common dryer problems, like a lack of heat, are often caused by a malfunctioning heating element, which is relatively easy to replace.
By opting to repair instead of replace, you’re not just saving money—you’re also reducing waste and contributing to a more sustainable lifestyle. Plus, there’s something incredibly satisfying about fixing something with your own hands.
Step-by-Step Guide to Replacing Your Dryer’s Heating Element
1. Safety First: Unplug Your Dryer
Before you do anything, make sure your dryer is unplugged from the power source. This is a crucial step to ensure your safety while working on the appliance.
2. Access the Heating Element
Pull your dryer away from the wall to give yourself some working space. Locate the screws that secure the back panel of your dryer and remove them. Once the panel is off, you’ll have access to the internal components.
3. Identify and Remove the Faulty Heating Element
The heating element is usually easy to spot—it’s a coiled wire or metal piece located near the back of the dryer. Carefully disconnect the wires attached to it (taking a picture beforehand can help you remember where everything goes). Then, remove the screws holding the element in place and take it out.
4. Install the New Heating Element
Swap out the old element with the new one you’ve purchased. Reattach the wires and screw the element back into its place. Ensure everything is secure and properly connected.
5. Reassemble the Dryer
Replace the back panel and secure it with the screws you removed earlier. Push your dryer back into its original position against the wall.
6. Test Your Repair
Plug the dryer back in and turn it on to see if the repair was successful. If everything was done correctly, your dryer should now heat up as it should!
Conclusion:
And there you have it—a quick and easy fix that saves you from the hassle and expense of buying a new dryer. By replacing a single part, you can extend the life of your appliance and keep more money in your pocket. The best part? You can do it all yourself with just a few basic tools.
Follow us for more money-saving family tips!
https://www.tiktok.com/@glazedepoxy?_t=8mvHKnsCR17&_r=1
Watch full videos and breakdowns on TikTok


